
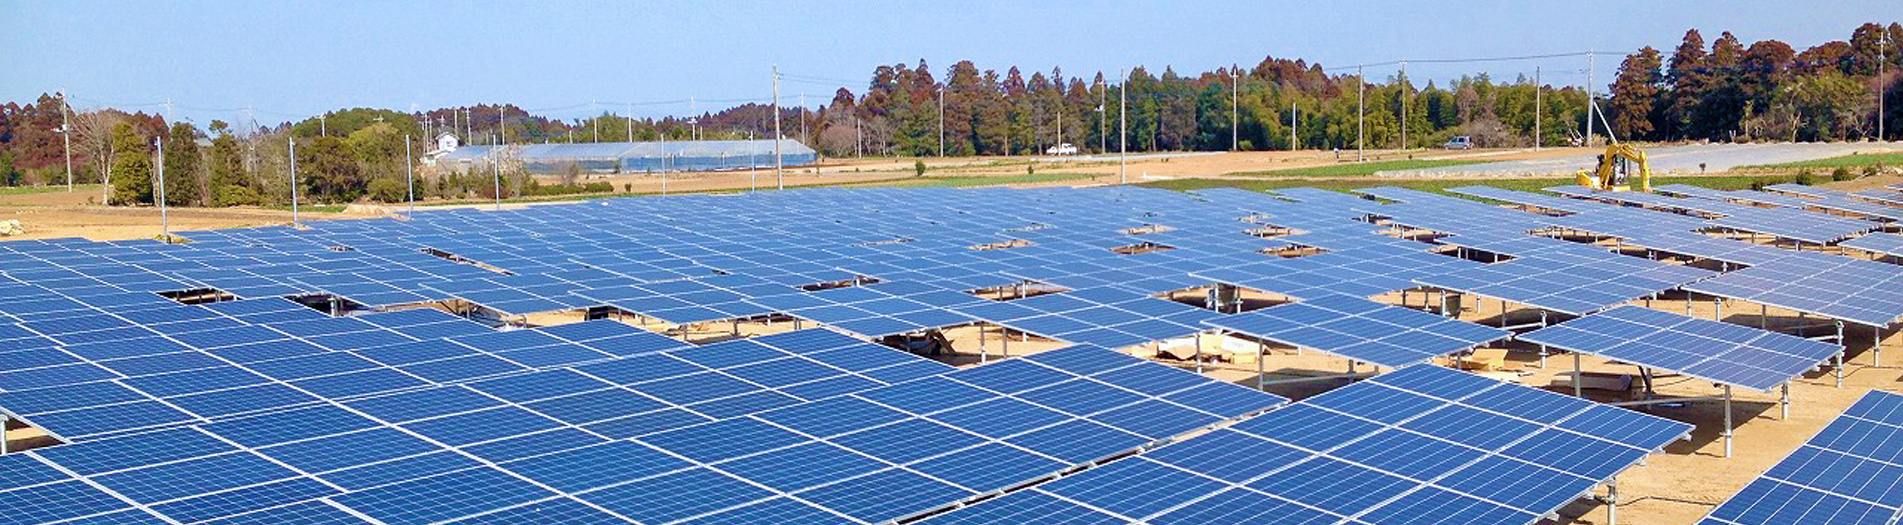
We have many kinds of ballasted solar mounting structure with steel or aluminum material. This article is going to introduce one with special function, which have the adjustable angles and directions. The front view of this type solar mounting as following.
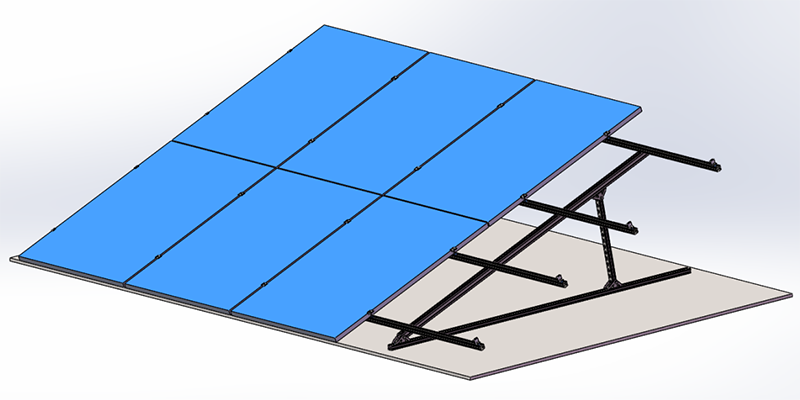
This type mounting consists of only seven parts, which is Pre-assembled Mounting, Foundation, Rail, Inter and End Clamps, Base foot for Mounting and Plastic wing nut. It’s very easy to install it. Let’s see.
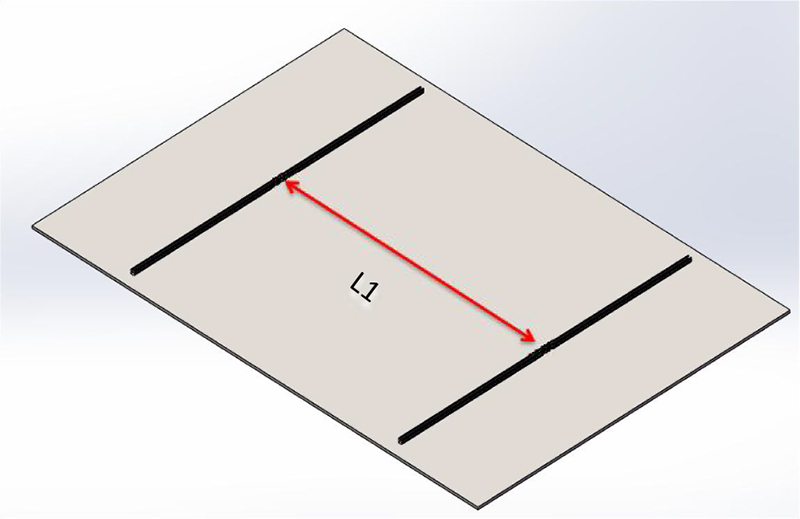
Step1. Fixed the foundation
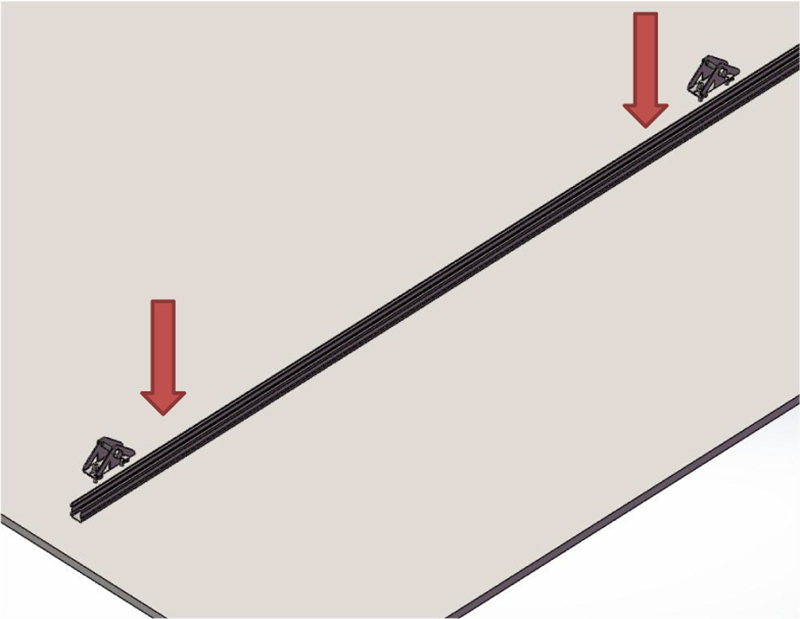
Step2. Install the base foot on the foundation beam.
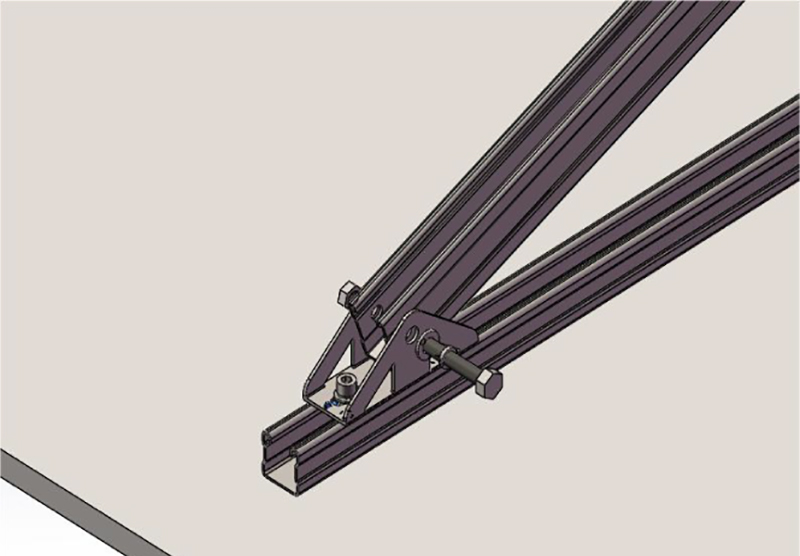
Step3. Install the pre-assembly mounting on the foundation beam Including of front and rear base feet.
그런 다음 이 부분이 완료되고 개요는 다음과 같습니다.
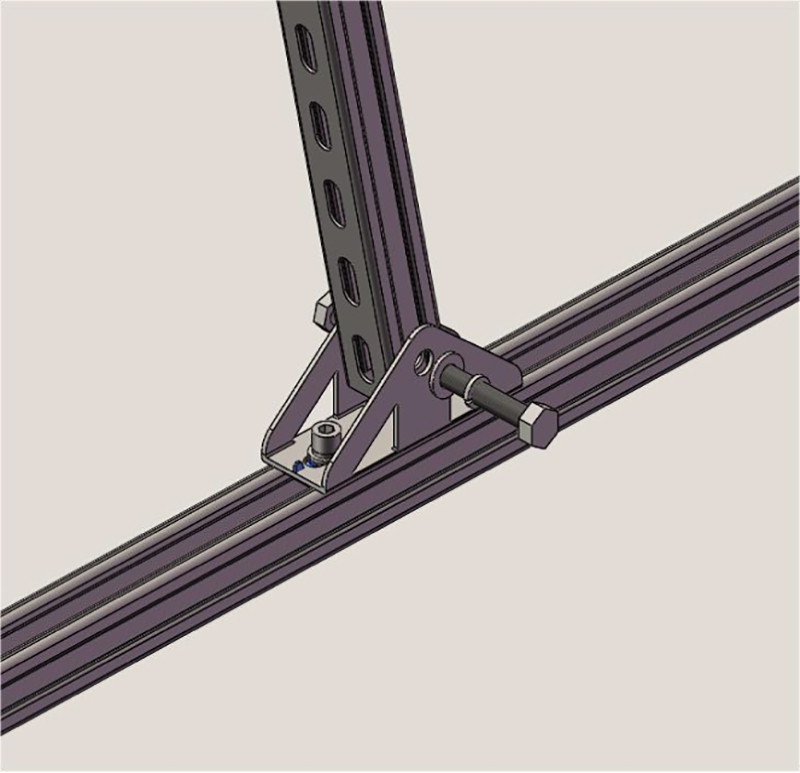
4단계. 다른 쪽에도 동일한 설치를 반복하고 위, 아래, 왼쪽 및 오른쪽을 정렬한 다음 모든 나사를 조입니다.
5단계. 미리 조립된 마운팅의 경사진 빔에 레일을 놓고 플라스틱 윙 너트로 고정합니다. (참고: 나사가 먼저 미리 잠겨 있습니다.)
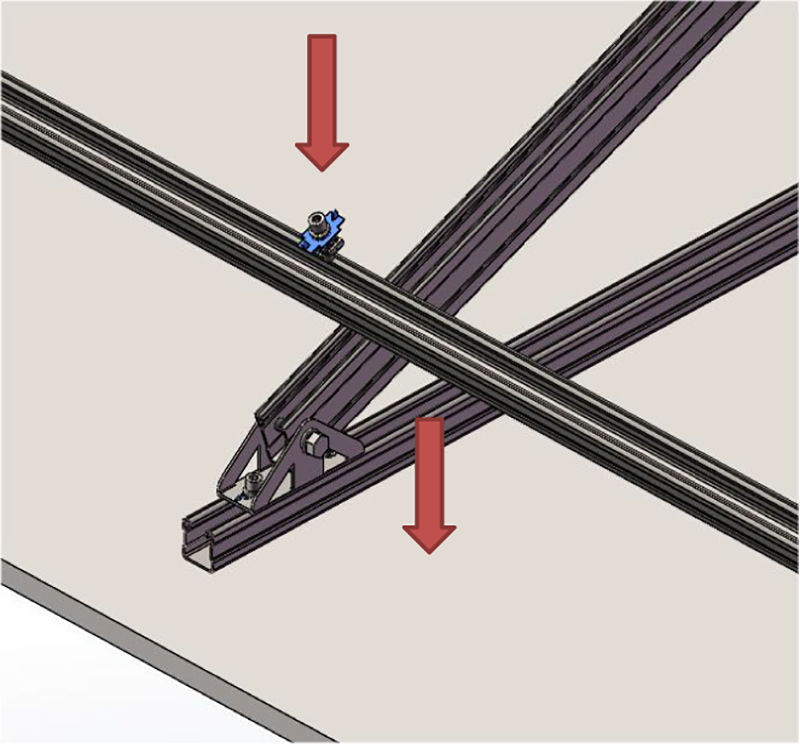
6단계. 다른 레일에 대해 동일한 설치를 반복합니다. 레일의 양쪽 끝은 정렬된 상태를 유지해야 합니다. 레일을 올바른 위치로 조정한 후 모든 나사를 조입니다.
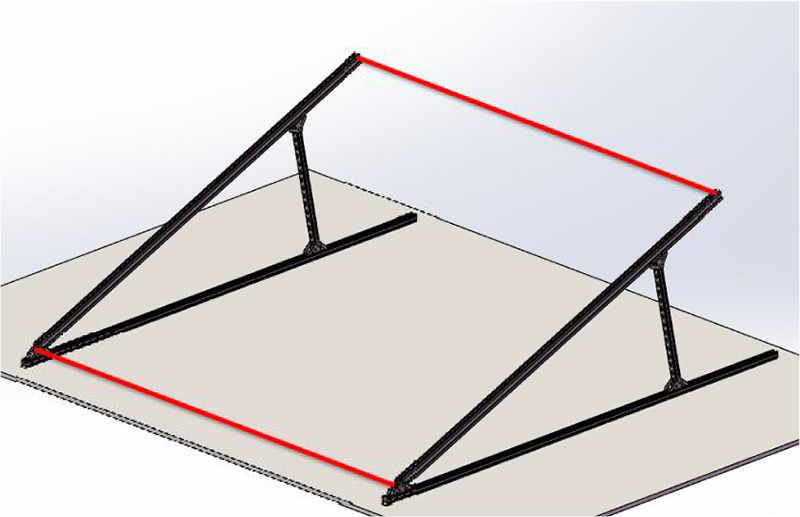
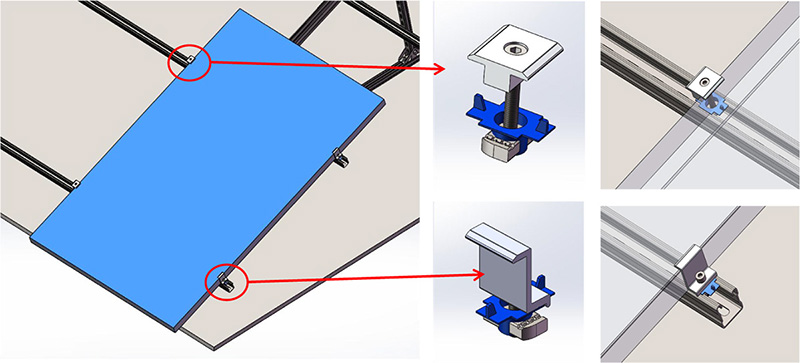
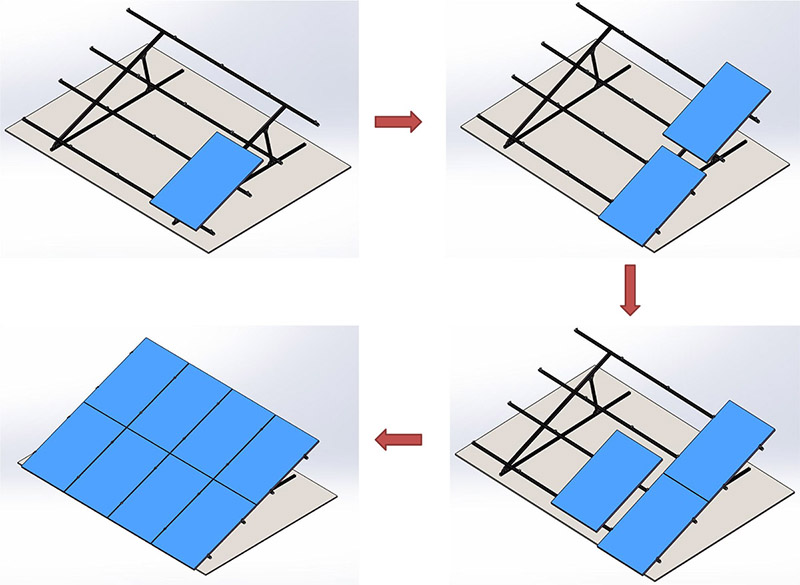
7단계. 중간 및 중간 클램프로 태양광 패널 설치
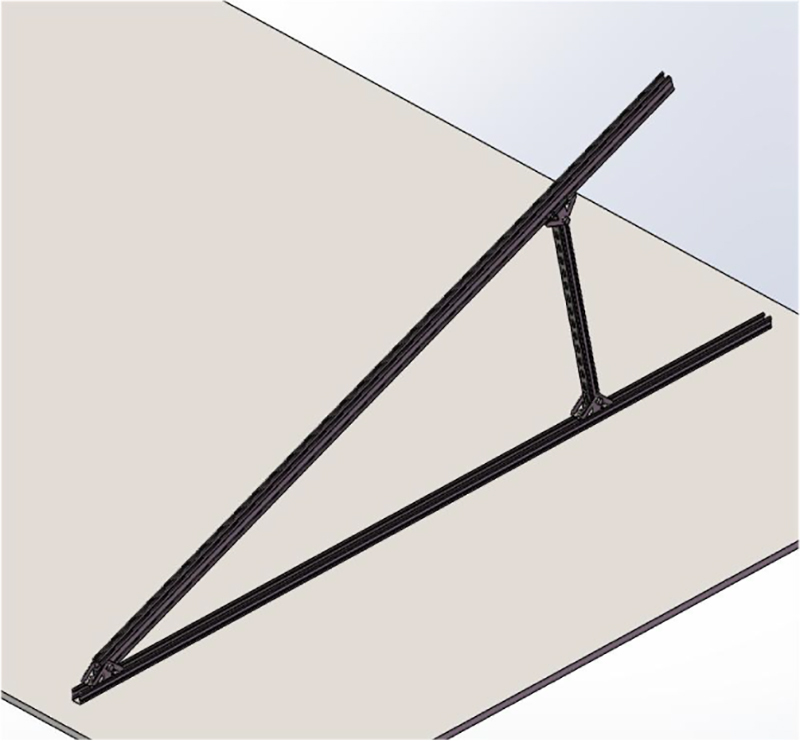
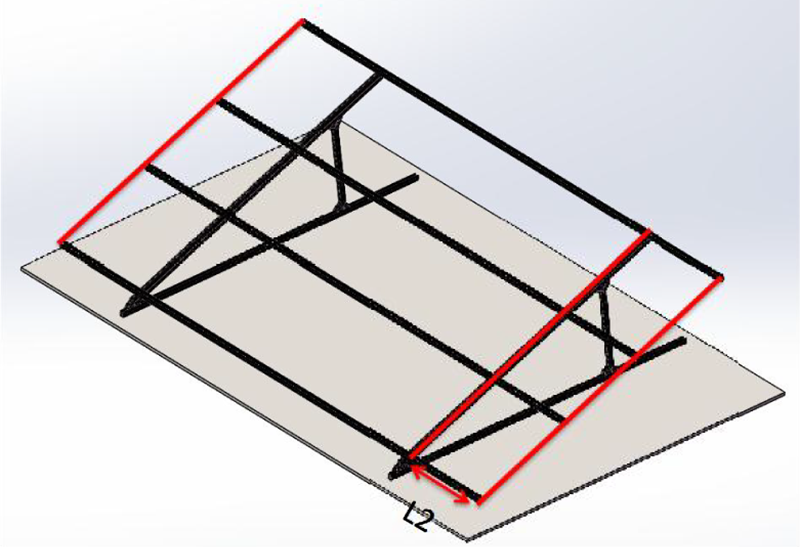
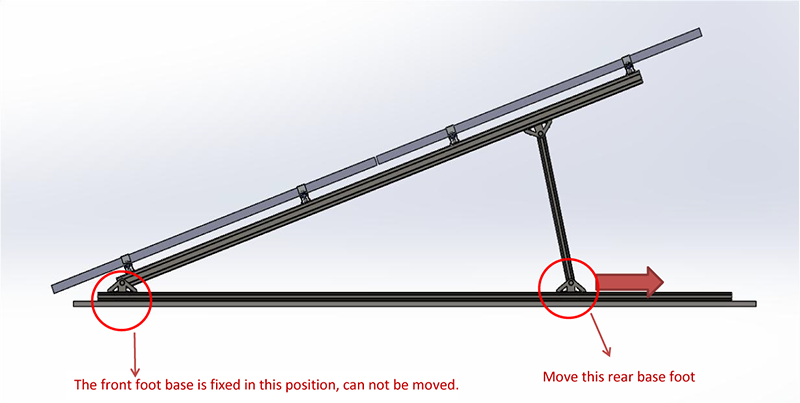
각도를 조정하려면 후면 베이스 발을 원하는 위치로 다시 이동하십시오(슬라이더 역할을 하는 플라스틱 윙 너트). 그러나 제한 각도는 10°이며 아래 그림과 같습니다. 그리고 다른 부분은 움직이지 않습니다.
수동으로 방향을 바꾸려면 베이스 발판을 분해하고 다른 방향으로 다시 설치하십시오. 기초 빔을 이동할 필요가 없습니다.
전체 설치가 완료되었습니다.

universe solar (uisolar)는 pv 마운팅의 개발, 제조 및 마케팅을 전문으로하는 첨단 기술 기업입니다. 당사의 최고 품질과 서비스로 대부분의 설치자, 배급 업체 및 epc 요법에서 uisolar 마운팅을 환영합니다. 전세계에.
계속 읽고, 게시하고, 구독하고, 우리는 당신이 생각하는 것을 말하도록 환영합니다.


 IPv6 network supported
 한국의
한국의 English
 français
 Deutsch
 русский
 español
 português
 Nederlands
 العربية
 日本語
日本語 온라인 서비스

